Connect To AWS Redshift Database
Introduction
The document provides the steps to connect to an existing Database in AWS RedshiftDB from a WaveMaker application. A Redshift Database is a cloud-based, big data warehouse solution offered by Amazon. The platform provides a storage system that allows companies to store petabytes of the data in easy-to-access “clusters” that can be queried in parallel.
Prerequisites
- RedshiftDB connection details such as
- Host
- DB name
- DB Credentials
- Allow connections from WaveMakerOnline (reach out to support for the Gateway IP)
Steps
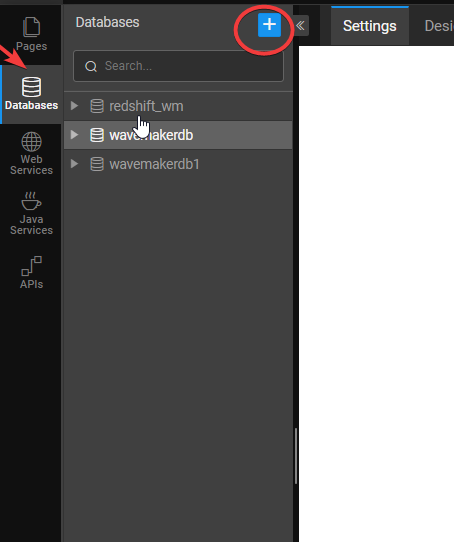
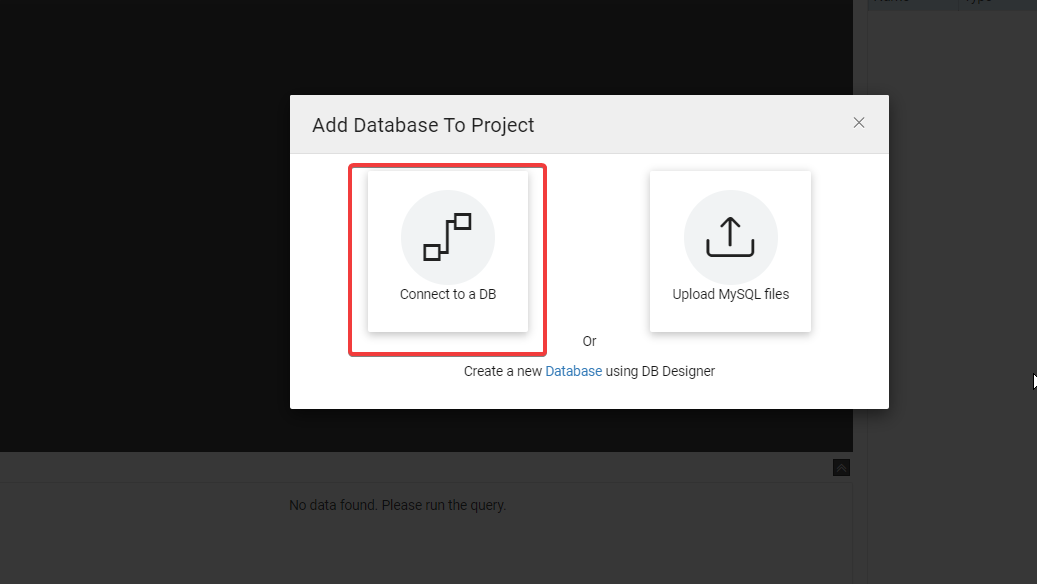
- Navigate to the Databases section and click on the plus icon to add the Database to the project. From the popup, choose Connect To a DB option.
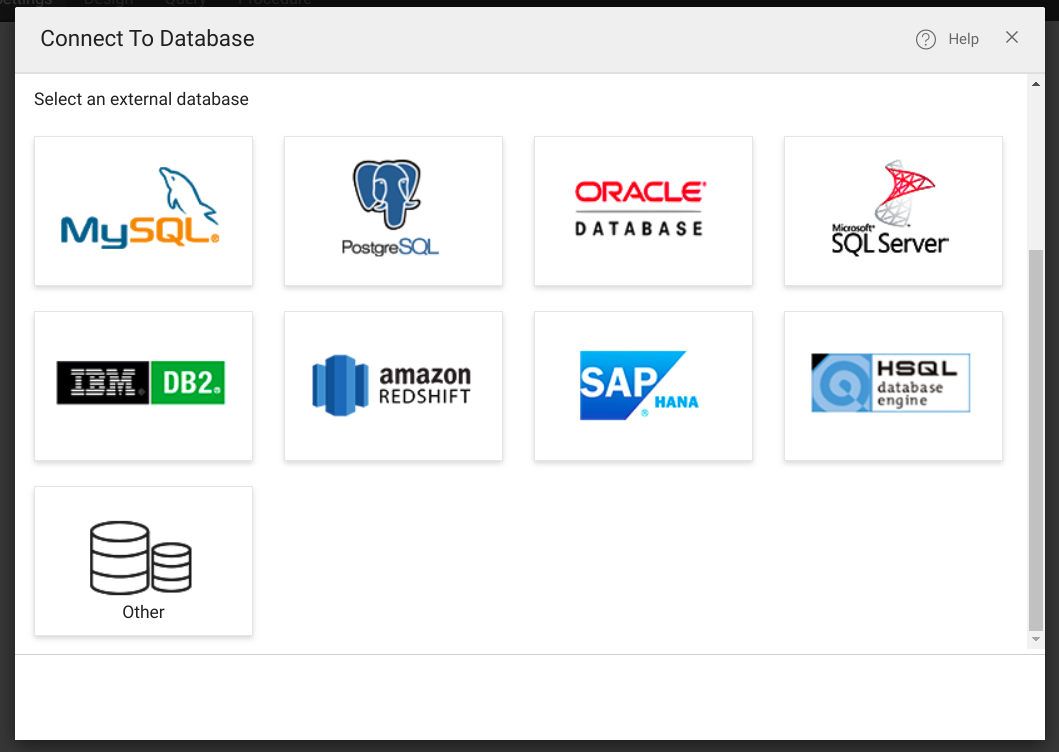
- In the next step, choose the Database provider. Select Amazon Redshift.
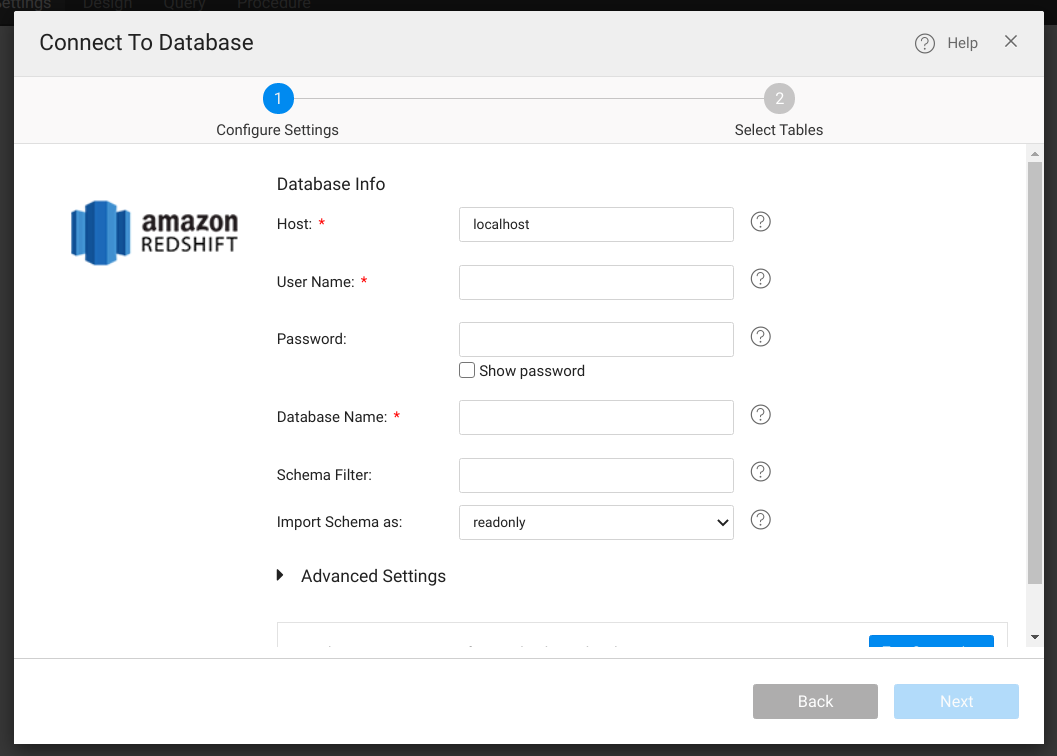
- In the next step, enter the details of the RedshiftDB.
- Database Info:
- Username and Password: DB Credentials.
- Database Name: Provide the name of the Database to connect.
- Host: Hostname of the Database to connect.
- Schema Filter: List of schema names to be imported in the WaveMaker.
- Advanced Settings:
- Port: Port on which Redshift is configured (default is 443).
- JDBC URL: JDBC connection string of the DB.
- Database Info:
Test the connection and click on the Next button.
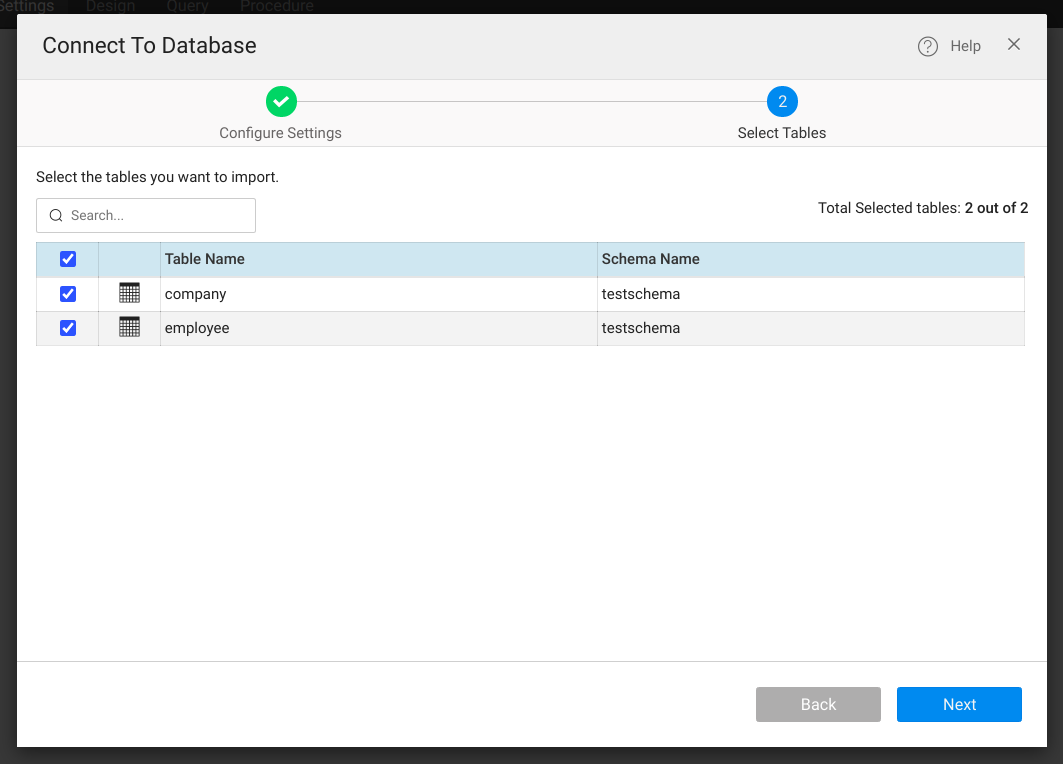
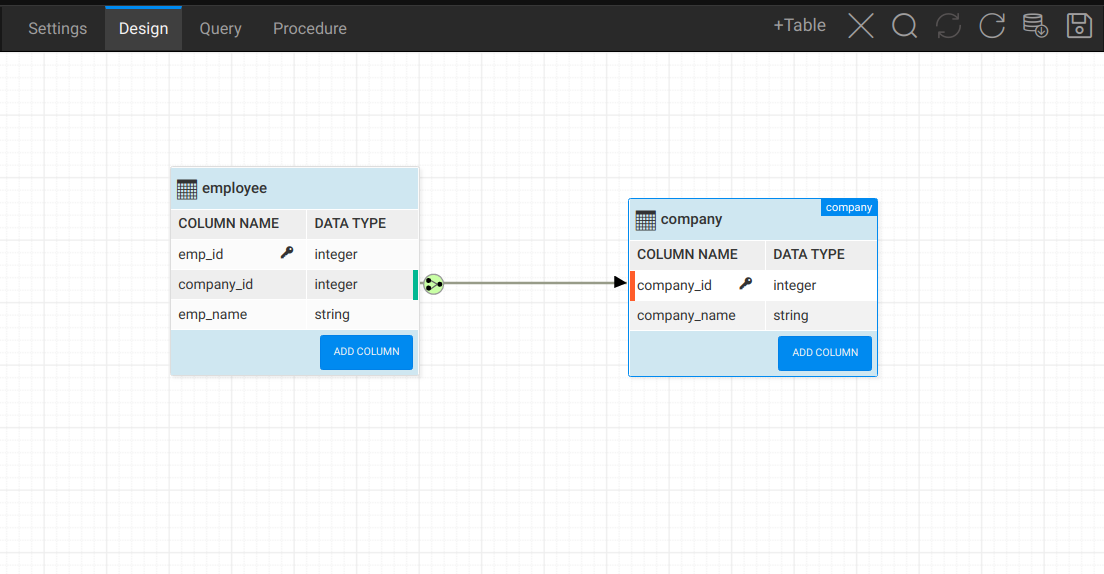
Select the desired tables to be imported and click on the Next button. This will now automatically generate the CRUD APIs for the select entities. The imported tables can be viewed from the DB designer.
